International Summer Camp 2019
teknikio's International Summer Camp is a 5-day Design and Technology workshop designed for students with little or zero experience with STEM. This camp was hosted by teknikio in July 2019. teknikio instructors Deren, Chao, Vicky, and Kristin had come together to designed a curriculum full of learning and making.

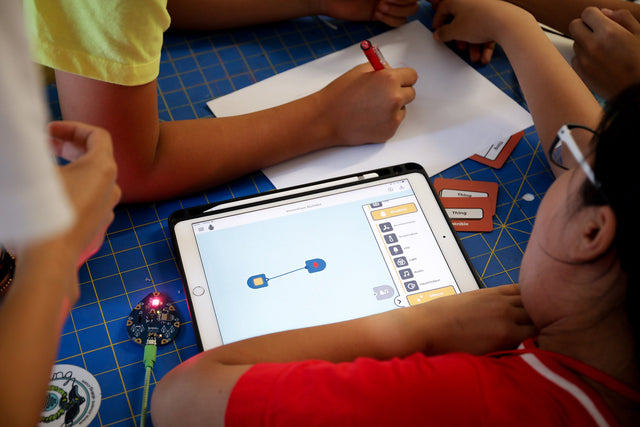
4 girls and 3 boys, ranging from 10 to 13-year-old from China and Taiwan joined our summer adventure. We covered topics include basic circuits, design process, prototype method, and critical thinking and used tools include teknikio's circuit boards and visual programming app, 3d printer, and Morphi, a wonderful 3d modeling app.


The International Summer Camp was designed using the teknikio Makerspace Electronics Bundle. Contains 170 re-usable circuit boards, 60 alligator clips, conductive thread and tape, and a detailed Invention Guide that include 30 projects ranging from 30 minutes to over 5 hours per project. Perfect for STEM/STEAM classrooms, maker spaces, libraries, afterschool programs and more.
We divide each class into three sections to ease students into their STEM explorations: Introduction to basic circuits, design process, and teknikio components, Guided Challenges, and Challenge Extensions. Students engaged in increasingly complex challenges that enhance their STEM knowledge, problem-solving skills, and creativity.
We use teknikio Invention Cycle in the camp:
- Ideation and sketching
After explaining the theme and introducing components, provide some paper and pen for the student to sketch out their ideas. Challenge the student to think about the relationship between the design goal and technology.
Example questions While making the light-up name stand, you can ask questions like: How does the LED light draw focus on to your name? Would you like to hide the battery board on the back since it doesn't need to be seen?
- Prototype and test


alligator clips We often use alligator clips to quickly test all components and use this prototype to shape the design.
circuit drawing Use a pen to mark where the conductive tape will be placed to check the circuit design before committing to it.
- Assemble:
When feeling confident about the design, attach circuit boards and place tape as planned.
- Test again and revise if needed
Test again to make sure the circuit works. Encourage the student to observe the testing process carefully and document interesting things they’ve noticed.
- Play and Share
Encourage the students to present and explain their design.
Example questions What do you like and dislike about the invention? Why?

It was 5 days of learning, hand-on making, discussion, and fun! Students made 3d printed tilt nightlights, sewed a cozy that reacts to heat, and participated in an origami Sumo contest.


At the end of the camp, students showed an understanding of the design method and the increased confidence in creating with technology. Those are valuable learnings that are beneficial in their future learning and challenges. We are excited to see how they utilized the skills and knowledge they've earned in only a short amount of time we shared together.
Are you interested in building STEM camps and workshops with teknikio? We have the teaching tool and resource you need. Get in touch today to learn more.
0 Comments
There are no comments for this article. Be the first one to leave a message!